Tuesday 29 April 2014

Simple App with Basic features


Simple App with Basic features


basic app, addition, android addition, Simple Android App, Simple App, Learn Android, Application, App, Android Basic App, Android basic, Android App, Android, TextView, EditText, Button, Layout, HorizontalLayout, TextView Example, EditText Example, LayoutExample, Button Example, HorizontalLayout Example, LinearLayout, LinearLayout Horizontal, LinearLayout Horizontal example, Addition Example, Android Addition

Hi friends in this post we are going to learn about how to create a App which get two values from the user and perform the arithmetic operations according to user specified, ie. Simple calculator.
Basic UI features required for this App is,
·         2 EditText ->To get Input.
·         4 Button -> Arithmetic operations denoting Add, Sub, Mul, Div.
·         1 TextView -> Display Output.

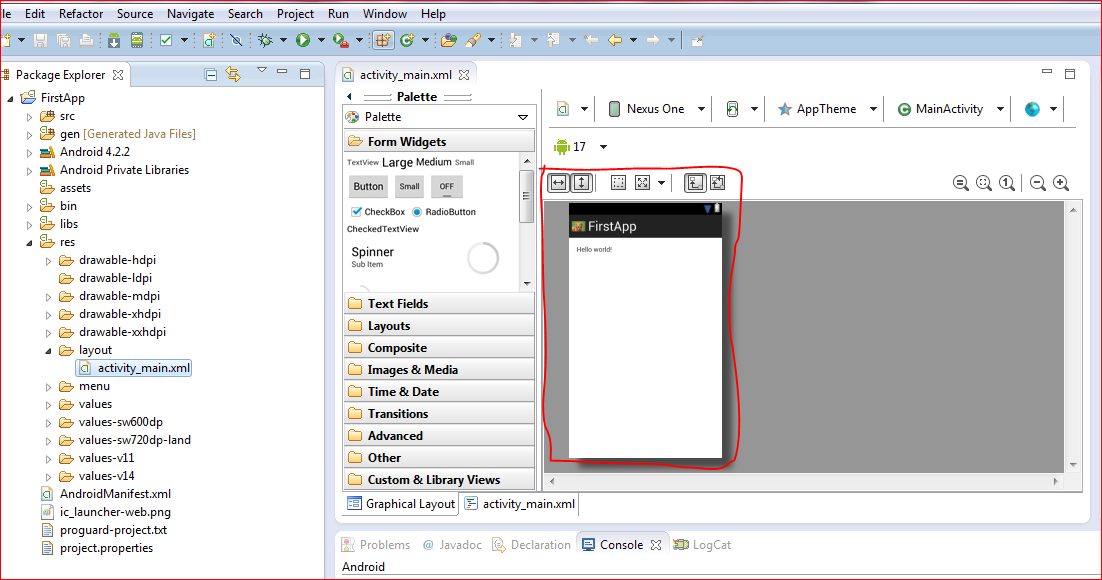
  1. Create a New App similarly done in previous post, and Design the UI based on above features.
  2. First insert two EditText to get  numbers from the user by drag and drop from the palette Text Fields column. Since we are going to perform arithmetic operations choose the EditText whose Input type as Number (Recommended). You may also able to select it in the properties column of the EditText, which will appear on right side of our SDK.
basic app, addition, android addition, Simple Android App, Simple App, Learn Android, Application, App, Android Basic App, Android basic, Android App, Android, TextView, EditText, Button, Layout, HorizontalLayout, TextView Example, EditText Example, LayoutExample, Button Example, HorizontalLayout Example, LinearLayout Horizontal example, Addition Example, Android Addition

             3.   Insert four buttons (Add, Sub, Mul, Div) similarly in the Layout, it should be functioned as by pressing each button you may get corresponding result of the operation. We will set the buttons easily in order by changing the layout to linear layout (Horizontal) it will provide us great flexibility to set the buttons in a single horizontal row which looks better.

  • ·         Drag and Drop four buttons to the layout from palette Form Widgets
basic app, addition, android addition, Simple Android App, Simple App, Learn Android, Application, Android App, Android, TextView, EditText, Button, Layout, HorizontalLayout, TextView Example, EditText Example, LayoutExample, Button Example, HorizontalLayout Example, LinearLayout, LinearLayout Horizontal, LinearLayout Horizontal example, Addition Example, Android Addition
  •       Change the Layout to Linear layout (Horizontal) for particular buttons by dragging Linear    Layout(Horizontal) from palette
basic app, addition, android addition, Simple Android App, Simple App, Learn Android, Application, App, Android Basic App, Android basic, Android App, Android, TextView, EditText, Button, Layout, HorizontalLayout, TextView Example, EditText Example, LayoutExample, Button Example, HorizontalLayout Example, LinearLayout, LinearLayout Horizontal, LinearLayout Horizontal example, Addition Example, Android Addition

  • Now you can able to set 4 buttons horizontally one another inside the Linear Layout (Horizontal) .
basic app, addition, android addition, Simple Android App, Simple App, Learn Android, Application, App, Android Basic App, Android basic, Android App, Android, TextView, EditText, Button, Layout, HorizontalLayout, TextView Example, EditText Example, LayoutExample, Button Example, HorizontalLayout Example, LinearLayout, LinearLayout Horizontal, LinearLayout Horizontal example, Addition Example, Android Addition

Thus the design part get over and show your own logic in the coding and finish your second app with some basic features.

Wednesday 23 April 2014

To create a First Android App


To create a First Android App
Android,Tikshniyas,SimpleApp,Basic features,Ecllipse


Step 1: Open Eclipse Application in your Android SDK bundle

Android,Tikshniyas,SimpleApp,Basic features,Ecllipse
Step 2: Select a workspace where ADT stores your projects
Android,Tikshniyas,SimpleApp,Basic features,Ecllipse

Step 3: Choose New ----> Android Application project

Android,Tikshniyas,SimpleApp,Basic features,Ecllipse
Step 4:  A popup window creates, in which you describe your Application name, Project Name, Package Name(You can specify any common name for your App collection), and other details etc and press next.
Android,Tikshniyas,SimpleApp,Basic features,Ecllipse

Step 5: Configure your project similarly and press next.
Android,Tikshniyas,SimpleApp,Basic features,Ecllipse


Step 6: Configure your launcher icon which you can also able to change later. You can set your custom image by choosing a image by browsing
Android,Tikshniyas,SimpleApp,Basic features,Ecllipse

Step 7: select the mode of Activity for your App

Android,Tikshniyas,SimpleApp,Basic features,Ecllipse
Step 8: Set your Activity name and choose your Navigation type
Android,Tikshniyas,SimpleApp,Basic features,Ecllipse

Step 9: This is the how the Application looks. The red color marked region is where you need to design

Step 10: Below Marked region is the Tool palette which consist of tools which you need to drag and drop in your design region
Android,Tikshniyas,SimpleApp,Basic features,Ecllipse

Step 11: Run the emulator which acts as a virtual device for android
Android,Tikshniyas,SimpleApp,Basic features,Ecllipse

Step 12: In case of any advanced program you may include your coding here

Android,Tikshniyas,SimpleApp,Basic features,Ecllipse
Step 13: Finally the output of this first simple hello world is displayed in emulator as,

Android,Tikshniyas,SimpleApp,Basic features,Ecllipse